

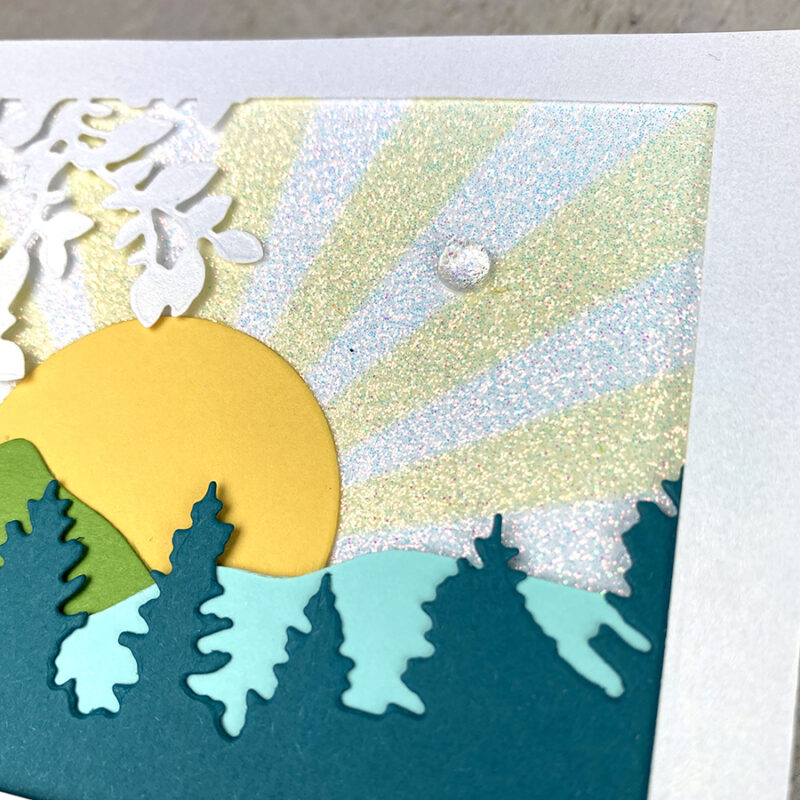
Did you know you can stencil color onto our non-shed glitter paper? If the color is darker than the paper it will show up and create a nice two-tone effect. We used Buttercup Premium Dye Ink and a blending brush from Concord & 9th to stencil on our white non-shed glitter cardstock to create these fun sun rays.
Here’s how:
1. Cut a piece of white non-shed glitter cardstock to size. For this card we cut the paper to 4″x4″.
2. Lay the stencil onto the paper and adhere it in place with removable tape.
3. Grab a pigment ink, we used Buttercup from Concord & 9th.
4. Using a blending brush add ink to the brush, then slowly blend the ink onto the open areas of the stencil. Continue this process until ink is as saturated as you like. We used more ink toward the center of the rays and less ink toward the outer edges.
5. Layer on the card. Additional supplies for this card are from Concord & 9th.


ETC Papers has 24 colors of Glitter Cardstock. White, Silver, Black, Bronze, Copper, Gold, Bright Orange, Orange, Red, Magenta, Rose Gold, Light Pink, Dark Pink, Pale Yellow, Amethyst, Plum, Dark Purple, Lilac, Emerald, Green, Pale Green, Dark Blue, Light Blue, & Aqua. Available in an assortment pack.
